Creating digital backups of your prized vinyl collection is an essential skill for any audiophile. It simplifies playback across devices while minimizing wear on your original records over time.
Many contemporary turntables include built-in digital outputs for this purpose. Even legacy setups just need affordable hardware upgrades—nothing too complex for dedicated vinyl enthusiasts.
Let's walk through the full process of recording and refining your vinyl audio with professional results.
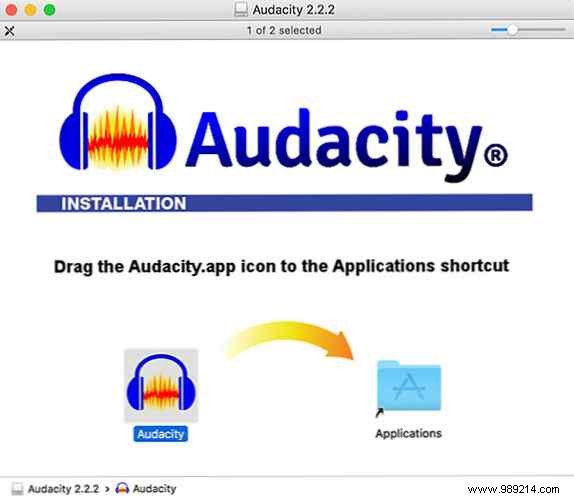
As an audio expert with years of experience digitizing thousands of records, I recommend starting with Audacity, the free, open-source leader in audio recording and editing. Download it for your OS—it's comprehensive and reliable, outperforming many paid alternatives for this task.
These steps are demonstrated on macOS, but they're nearly identical for Windows and Linux. Note: Most USB turntables and interfaces are optimized for Mac/Windows; Linux users might face driver quirks.
Next, select a record from your collection and clean it thoroughly. Use specialized vinyl cleaning solutions or at least a groove brush to dislodge dust and debris.
To capture vinyl audio digitally, you'll need one of these setups:
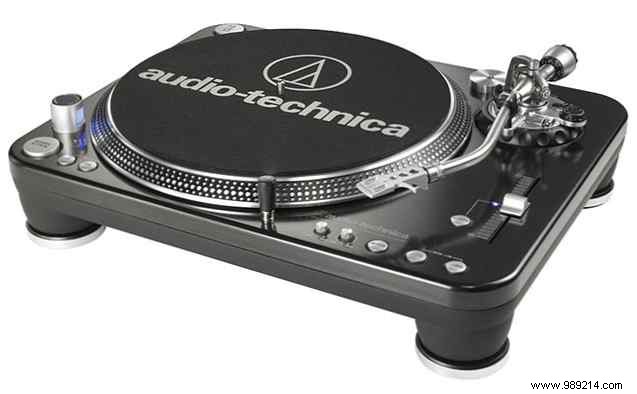
For USB turntables, connect directly to your computer and activate the built-in preamp (often a rear-panel switch). Models with preamp volume controls are ideal for fine-tuning.
For interfaces, the Behringer U-PHONO UFO202 is a top pick: it includes a preamp, stereo inputs, ground pin, and USB power—no extra adapters needed.
Behringer U-Phono UFO202 Audiophile USB / Audio Interface with Built-in Phono Preamp Buy Now On Amazon $28.35
Other USB interfaces work too. If your turntable connects to an amp, feed the amplified stereo signal into any USB interface.
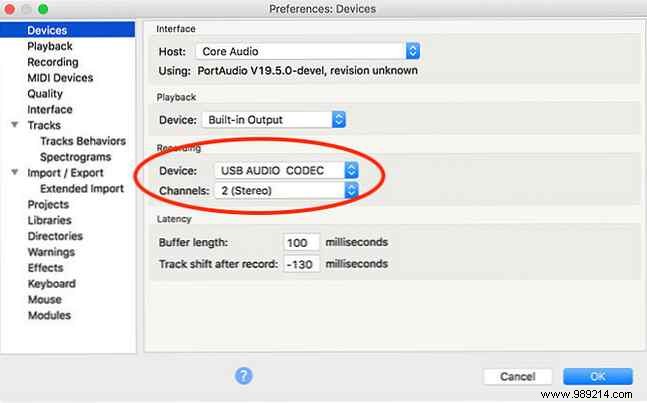
Audacity will detect it as 'USB Audio CODEC' or similar. Once connected, recording steps are universal.
Launch Audacity and navigate to Preferences > Devices. Select your turntable/interface from the Recording dropdown (restart if needed).
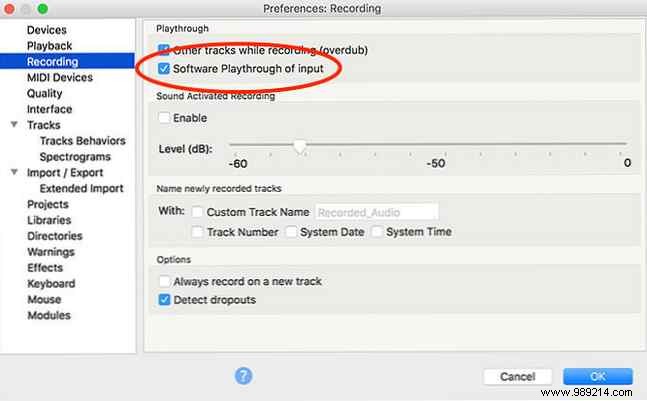
Under Recording, enable Software Playthrough to monitor live audio.
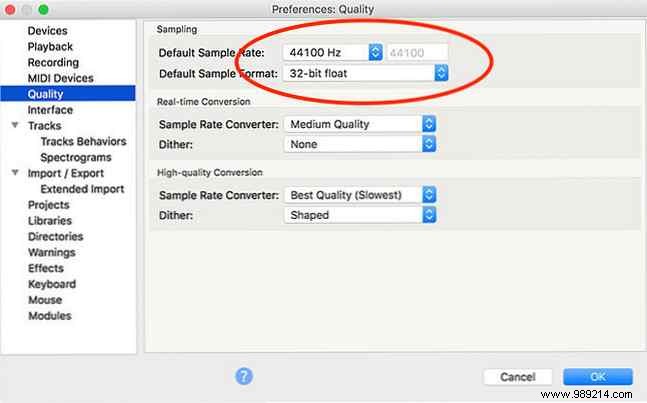
In Quality, stick to defaults: 44100 Hz sample rate and 32-bit float format for pristine captures.
Prevent clipping (distortion from overload) by monitoring levels first. Waveforms hitting the top cause data loss.
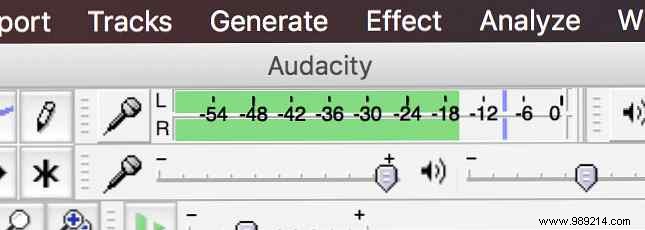
To check levels:
Some USB devices lock input levels. Turntable preamps with volume knobs solve this elegantly.
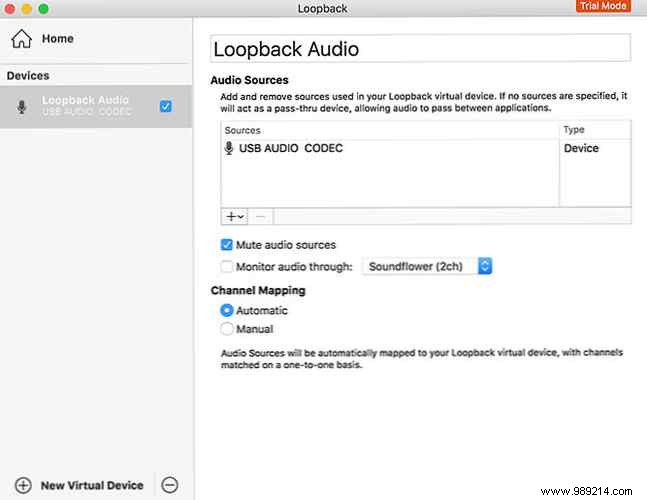
Loopback ($99) is the only reliable app we've tested (tried Soundflower, etc.) for virtual routing and volume control. Set your USB as a virtual device in Audacity for full mastery.
Alternatively, a USB interface is cheaper long-term and unlocks system audio recording too. Share other volume fixes in comments!
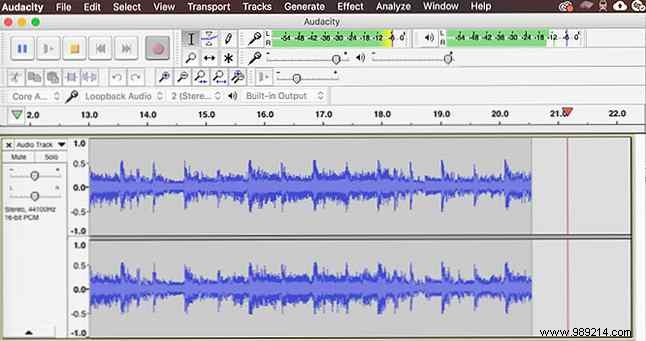
Hit Record to start a new track, then play the vinyl. With playthrough enabled, monitor in real-time. Relax—no external vibrations; use isolation shelves if needed.
Pause for side flips, resume after. Record full albums before editing.
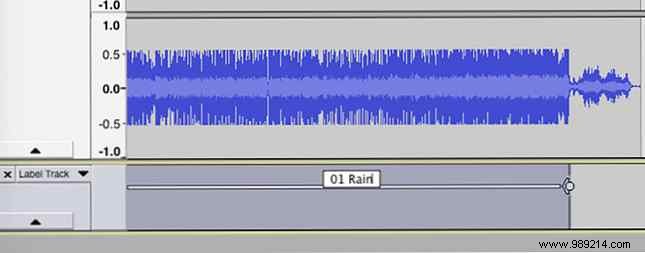
Go Tracks > Add New > Label Track. Zoom out, select each song, hit Cmd/Ctrl + B, and name (e.g., '01 - Track Name').
Clean with Audacity's pro tools: remove clicks/pops (common in vinyl), hiss, or boost volume.
Click Removal: Select a click (vertical spike), Effect > Click Removal. Tweak settings.
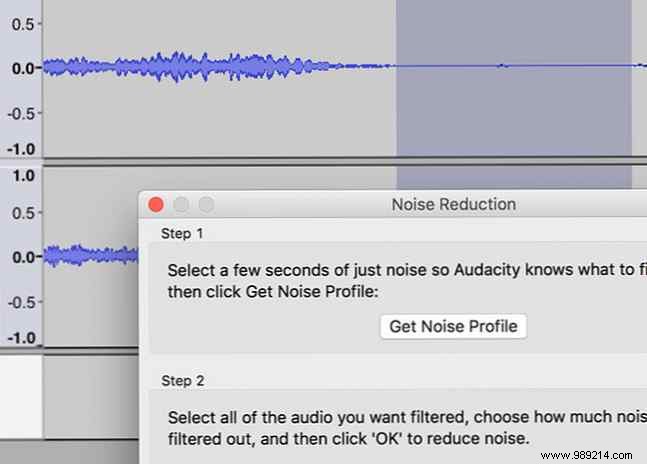
Noise Reduction: Sample silence between tracks, Effect > Noise Reduction > Get Noise Profile. Select all (Cmd/Ctrl + A), reapply, adjust, OK.
Amplify: For low levels, Effect > Amplify.
Select File > Export > Export Multiple. WAV offers lossless 'master' quality (space-heavy). Keep WAV archives, export MP3/M4A for portability. FLAC balances quality and size imperceptibly.