Steam dominates PC gaming with its massive library, sleek interface, and unmatched reliability—outshining competitors for most players.
As a long-time Steam power user, I've captured thousands of screenshots across games. This guide walks you through backing them up to the Steam Cloud, your PC, or a new machine while preserving metadata. We'll cover native tools and trusted free utilities.
Download: Steam for Windows | Mac | Linux (free)
Steam Cloud backups are straightforward and seamless. Launch Steam, click Steam in the top menu, then Settings. Go to the In-Game tab to view or adjust your screenshot hotkey (default: F12) and folder path.
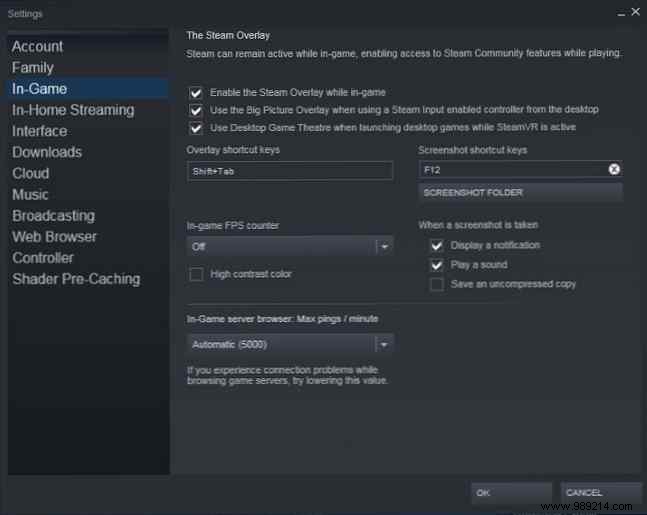
Load a game and hit F12 to snap. Exit the game, and Steam notifies you with a popup listing your shots—perfect for selecting uploads. Add captions here (you can't later), set privacy (private, friends-only, or public), and upload. Screenshots sync to both your PC and Cloud.
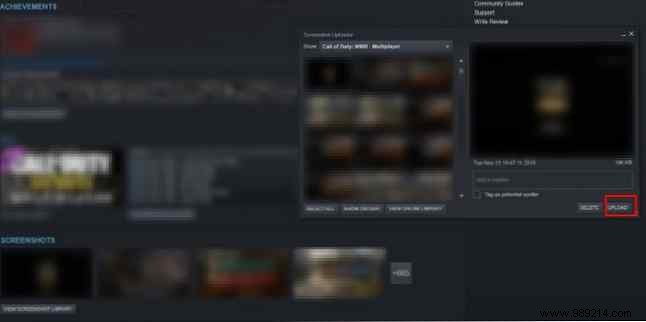
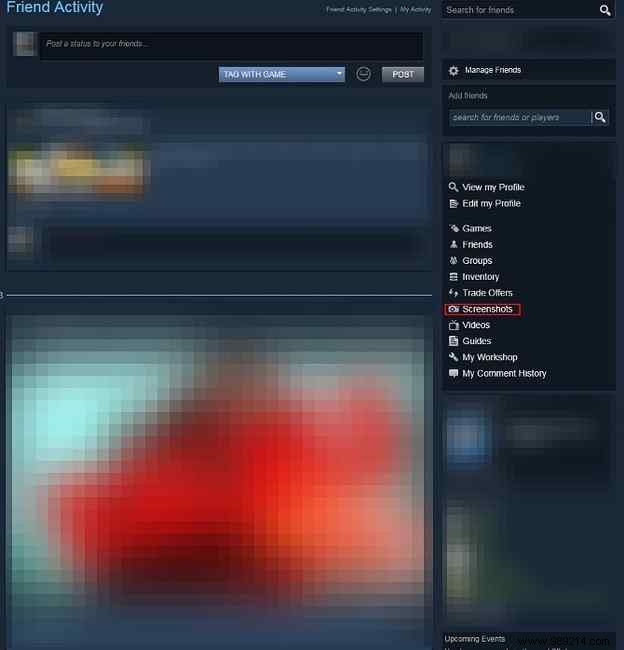
Access them via your profile: Click your username, select Screenshots. Deleting local copies? Cloud versions download as JPEGs without original metadata—no redownload to local library. For other shots, use View Screenshot Library > Upload.
Cloud storage caps at 20 GB for screenshots; deletions are one-by-one. View anywhere via your account.
Download: Steam for iOS | Android (free)
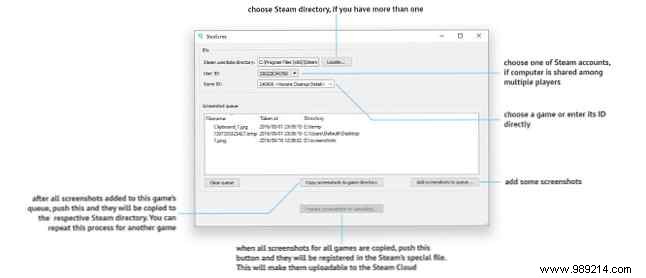
Third-party shots don't upload natively due to the Steam\userdata\[user ID]\760\remote\screenshots.vdf file format.
Enter SteaScree, a free tool that safely registers external images. It backs up your vdf file first (but not images—backup those separately). Follow its clear prompts to add shots; metadata reflects registration time.
Download: SteaScree for Windows | Mac | Linux (free)
Local backups are easy: Navigate to Steam's install folder (default: Program Files (x86)), then userdata > your unique User ID folder (sole subfolder) > 760 > remote. Numeric subfolders hold game-specific screenshots and thumbnails.
Copy the 760 folder weekly to USB—even thousands of shots fit under 10 GB. For automated cloud backups, use Carbonite or Backblaze on Mac/Windows.
Install Steam on the new PC, launch any game, and take a dummy screenshot (F12) to generate the 760 folder. Copy your old 760 folder via USB and overwrite. Steam recognizes uploads and metadata intact via the transferred screenshots.vdf.
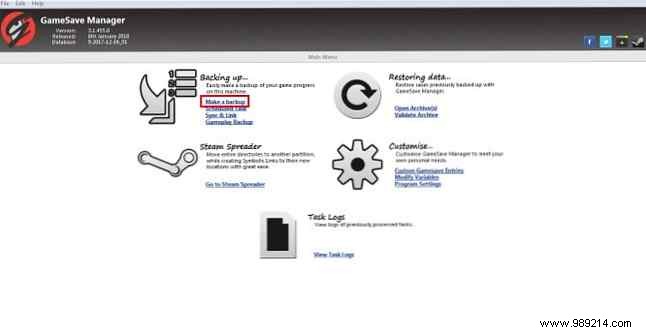
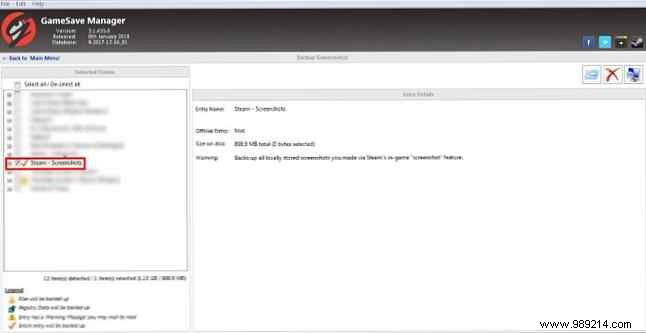
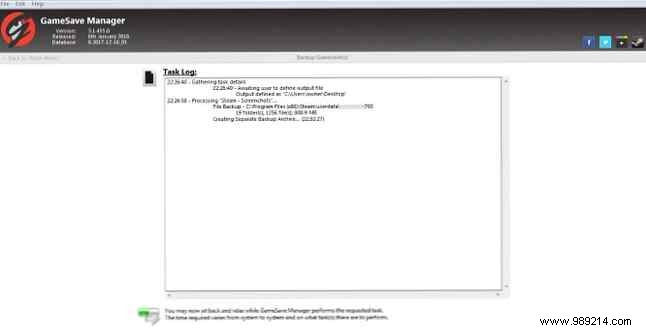
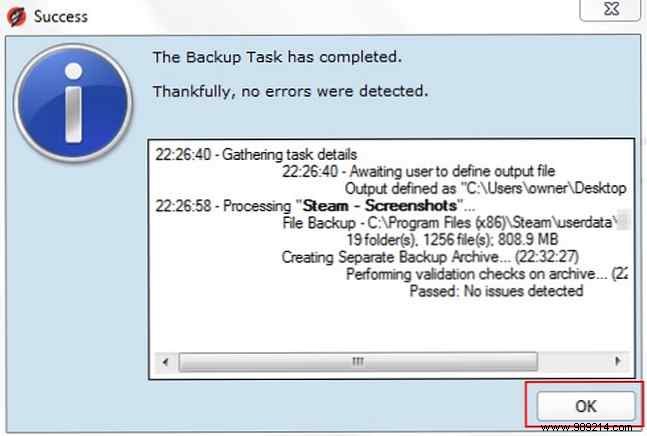
For same-account libraries: GameSave Manager (free, portable) handles it. No install needed—select Make a backup > Steam Screenshots. Copy the archive to USB, run on target PC, and Restore. It preserves vdf compatibility for Cloud uploads.
Perfect for consolidating across machines.
Download: GameSave Manager for Windows (free)
Mastered screenshots? Organize your library with our guide to taming massive collections using free tools.